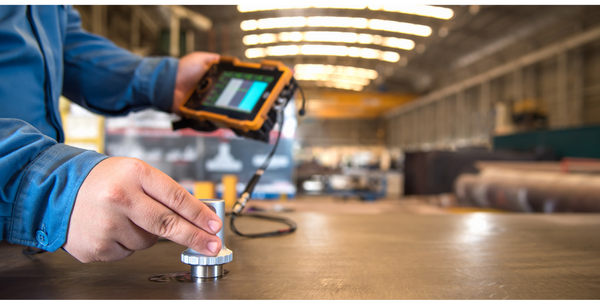
Ultrasonic testing is a widely used non-destructive test method to check cast parts for invisible defects such as blowholes, pores or cracks. Since the acoustic properties of the material change if those casting defects are present, the ultrasonic sound pulse is reflected and sent back to the test head.
Especially if components have complex geometries, ultrasonic testing is often carried out manually. By automating the process with the help of robots, test costs and test time can be reduced and measurements made reproducible.
For a successful test, a constant contact pressure of the test head is important. This can be ensured by using a force/torque sensor. In this way, the robot can move force controlled along the trajectory of e.g. a wheel rim to detect non visible defects with the ultrasound test. All sensor data and test results are automatically and completely documented.
Software solutions such as ArtiMinds RPS minimize the programming effort occurring for complex component geometries. The robot movement or path is generated automatically based on the CAD object of the component, which can be imported with one click. This simplifies programming and eliminates the need for manual teaching of complex trajectories. In addition, special, predefined program templates support the force controlled movement of the component, so that the alignment of the test head on curved surfaces is carried out automatically without the need to integrate a camera.

Case Study missing?
Start adding your own!
Register with your work email and create a new case study profile for your business.


